Include Tomcat and Eclipse in Java
Learn How to include Tomcat in Eclipse in Java
Java Tutorial Home
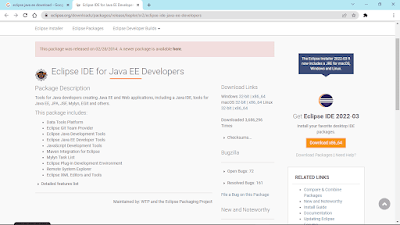
First Download the Eclipse if not yet done. Choose JavaEE, based on your operating system(64 bit/32 bit) download and install it. You get it as a zip. Just extract it and copy to a drive C or D from where you want to run it. Include java (jre) to eclipse.
1. Start Eclipse. Create New Web application
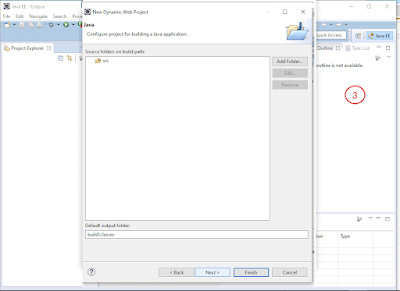
4. Select Generate Web.xml option and Click Next.
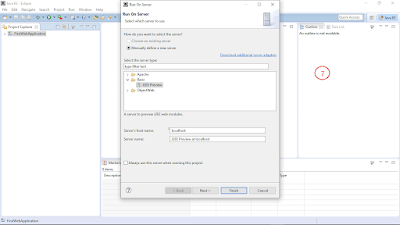
7. Select >Apache from select server type. It shows server that is available in PC.
12. Create a new HTML file and the Hello in the body tag and save it.
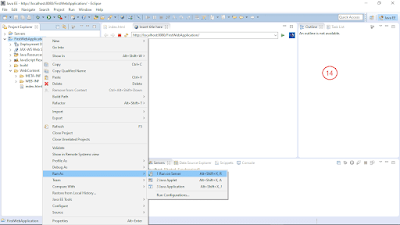
13. Now right click project select Run As and Run on Server.
14. It opens a window allowing you to choose the tomcat for your project. Select it and click Finish.
15. Now it opens index.html in a Browser. That all. You are done. Now Server is running.
Note: The above image index.html is open in embedded browser. If not opened, go to any other browser and type the URL as shown in the Picture.
Watch Demo Here:


Comments
Post a Comment