Running Java Webapplication in Eclipse
Create First Web Application in Java using Eclipse
Web application generally run in Server. In Java, we mostly use an editor to create any web application. In this tutorial, we are using eclipse editor to create a web application in Java. To run a web application, you need to integrate a web server to eclipse. Usually it is Tomcat server. If not yet done, please check out this link and proceed with this tutorial.
So First…
Start Eclipse.
1. Go to File menu and select New and click on Dynamic Web Project. As shown in picture.
2. Enter the web application name FirstWebApplication and click on next button.
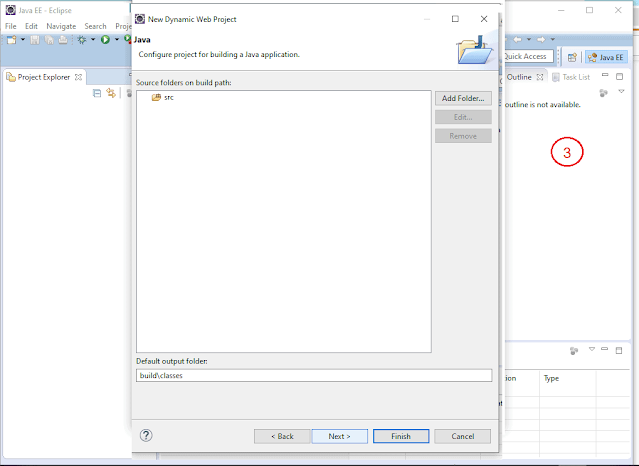
3. click next.
4. Select Checkbox 'Generate web.xml deployment descriptor' and click Next.
5. Click Finish.
6. Right click on Project and select new and select Html file. and give name as index.htnl.
9. Select the server shown in the list. Click Finish.
10. You will see in a browser Hello message.
11. Type the given URL in Chrome Browser, then you will see the result as shown below :
http://localhost:8080/FirstWebApplication
No need to give HTML filename. ' index.html ' is automatically opened by server. If any you have given any other name then you need to give file name, after project name. Let's say...
If the HTML page name is example.html then URL will as given...
http://localhost:8080/FirstWebApplication/example.html


Comments
Post a Comment